You're ready to start a blog. Hurray!
To make the process simple for you, here's a step-by-step guide to get your blog up and running in the next 15 minutes.
Domain Registration and Hosting
- Go to Bluehost. That link opens a new window, so you can check back here for further instructions.
On the Bluehost landing page click ‘get started now' as shown in the following graphic. - Bluehost is a web host. A web host or ‘Hosting' is basically where your blog will reside.
On the resulting page, you are asked to ‘select your plan', which means choose the hosting plan that you want. For starters, go for the least expensive plan. You can always upgrade later if you require a plan that allows more space, i.e. more room for all the pictures you plan to upload. 🙂
In this example, I selected the ‘plus' plan.
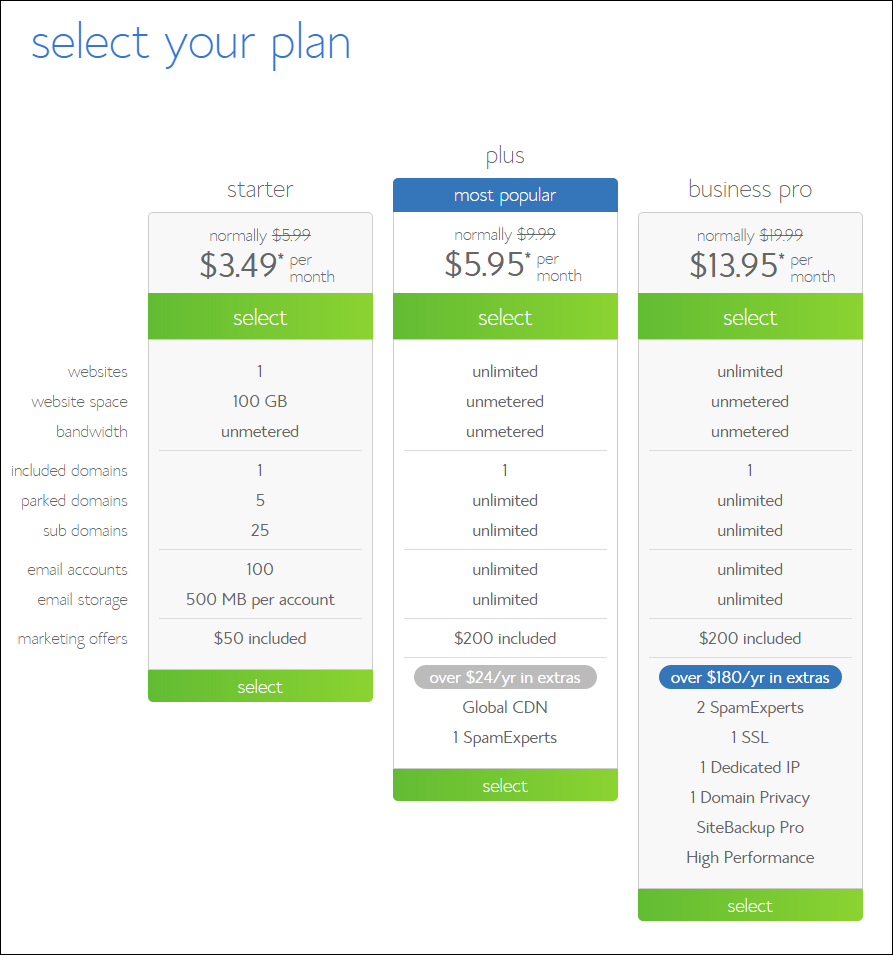
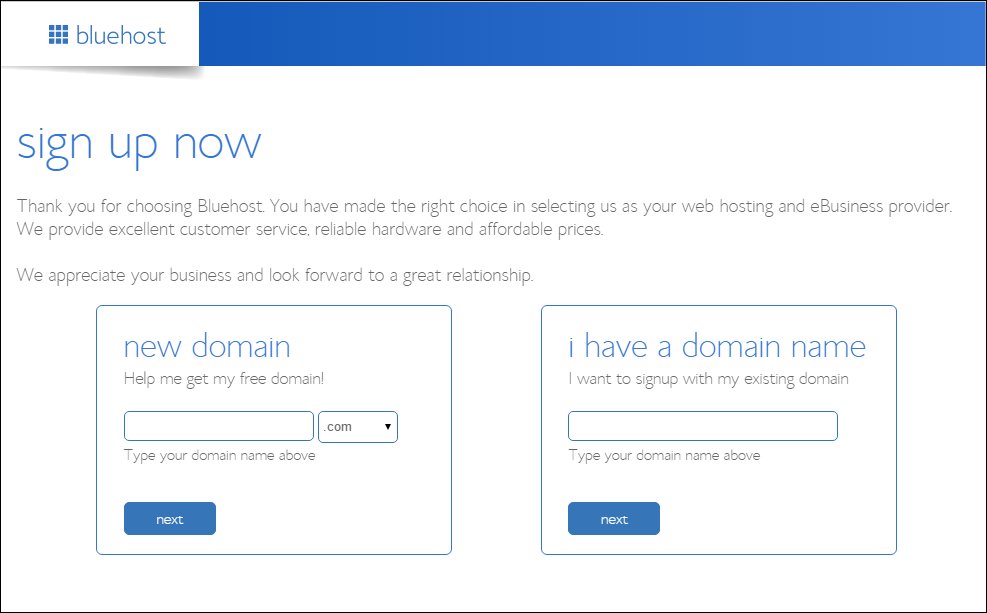
- Once you've selected the hosting plan you want, it's time to either choose a domain name, or let Bluehost know that you've already chosen a domain name.
Assuming you haven't registered a domain name, type your choice of name into the box under ‘new domain'.
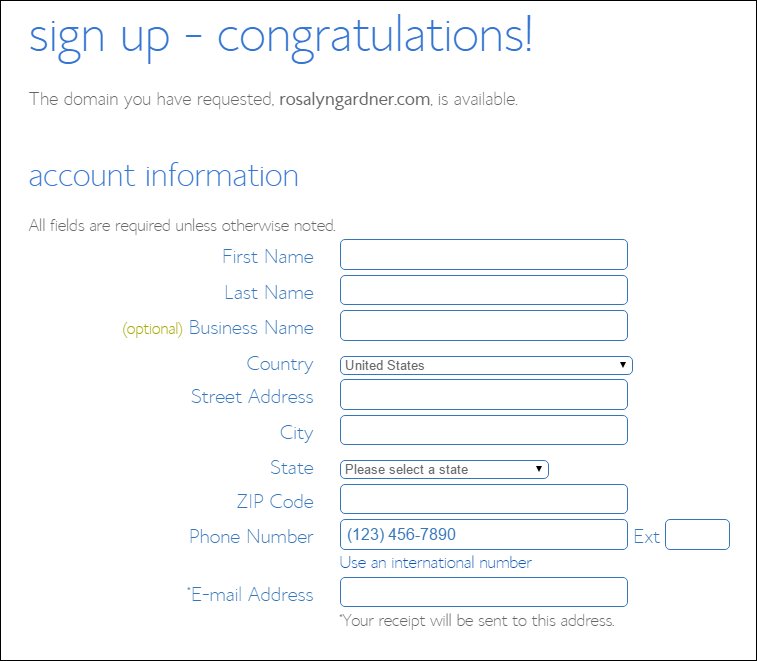
- When you've successfully picked a domain name that hasn't already been registered, you are rewarded with the following page. Granted, yours won't say ‘rosalyngardner.com' and neither will mine, 'cause that's not my name. 🙂
Fill in the blanks.
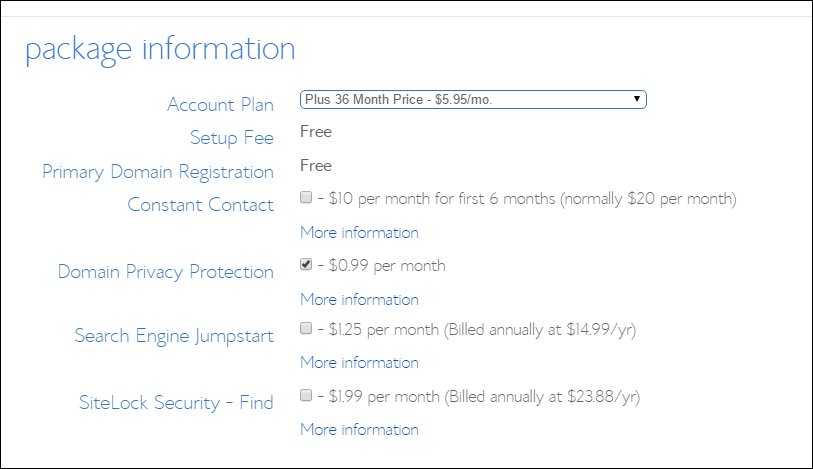
- Now scroll down and select your package options.
The default account plan that comes up is 36 months, but you can hit the down arrow and choose from either 12, 24 or 36 months.
On the remaining options, I'd recommend choosing ‘Domain Privacy Protection' and that's all. Domain Privacy Protection hides your address and telephone number from public viewing.
Too, be sure to de-select ‘Sitelock Security' if it was pre-selected when you got to the page.
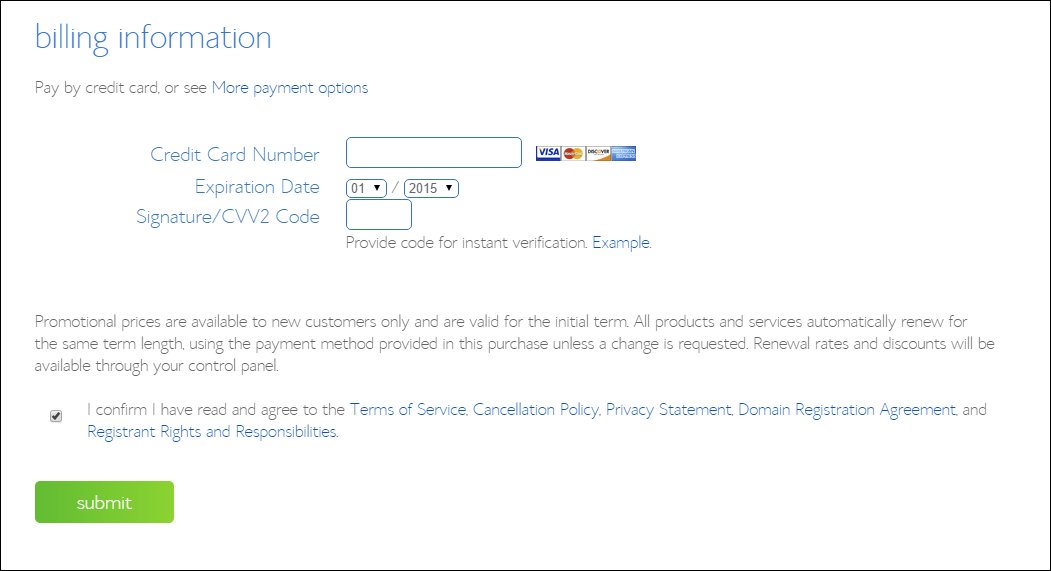
- Now fill in your billing information details and check the box that reads ‘I confirm I have read and agree to the Terms of Service, Cancellation Policy, Privacy Statement, Domain Registration Agreement, and Registrant Rights and Responsibilities.'
Now click ‘Submit'.
- After you've done all that, you will receive an email from Bluehost with your login information.
Go ahead and login to your new hosting account and we'll install your WordPress blog.
Install WordPress
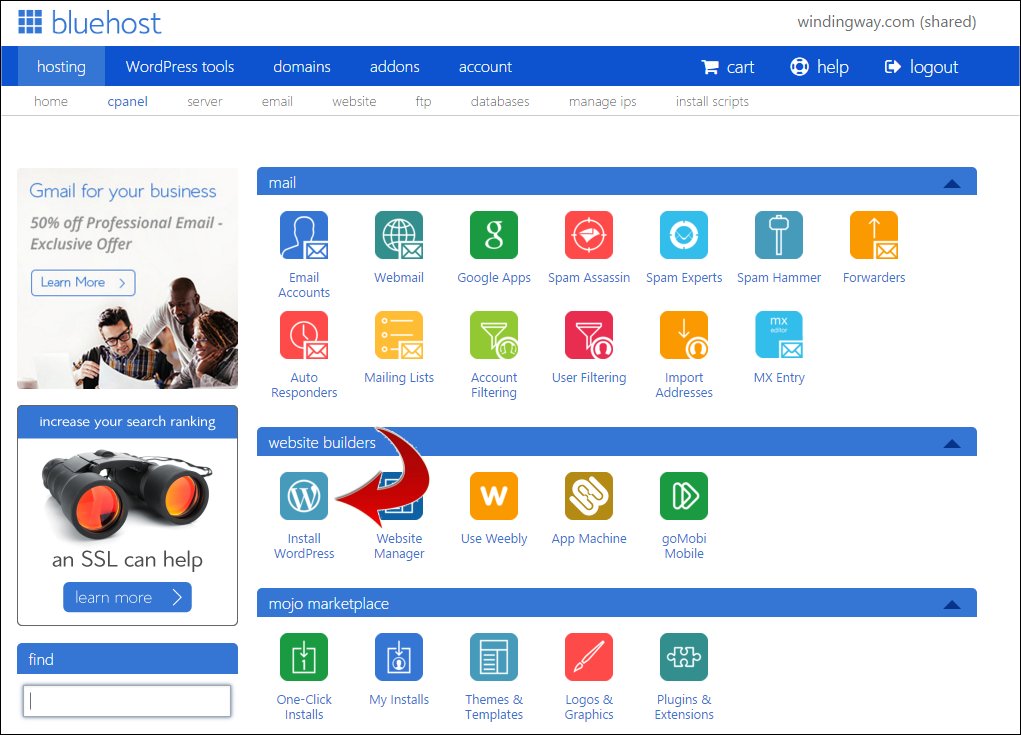
- After logging into your Bluehost account, you'll arrive at a page that looks like the graphic below.
Scroll down and click the ‘Install WordPress' icon, found under ‘Website Builders'.
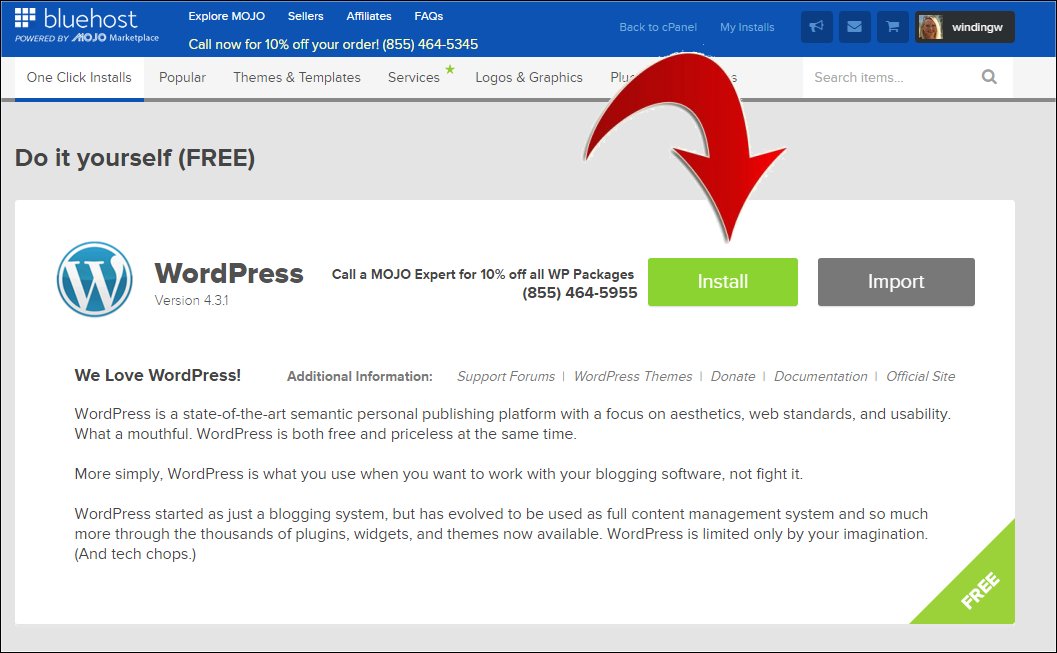
- Clicking that button opens a new window where you are given the option to ‘Install' or call a Mojo Expert. You don't need a Moho expert, so click ‘Install'.
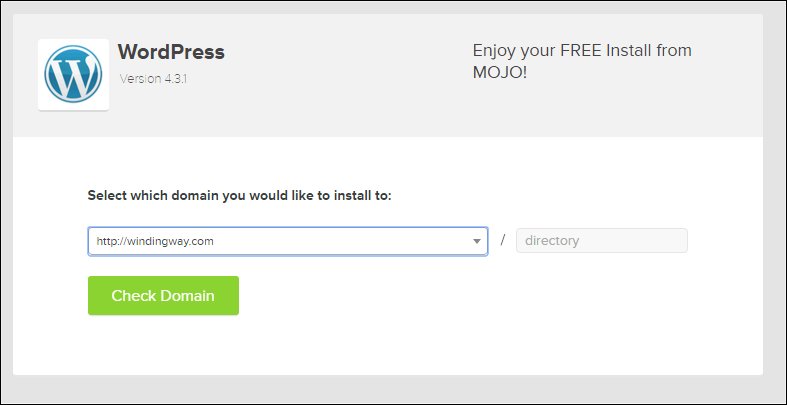
- A window opens offering you the option to select to which domain you want to install your blog. As you have only one domain, choose that, WITHOUT entering anything in the ‘directory' blank. You want to install your blog to your ‘root' domain, meaning it will reside at yourdomain.com, NOT yourdomain.com/blog. Bad choice, believe me… I've done that.
Now click, ‘Check Domain'.
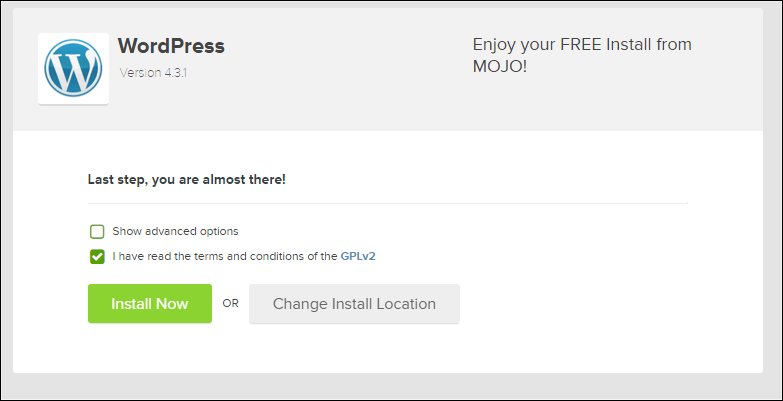
- … and the ‘Last step, you are almost there!' page comes up.
Don't bother with the ‘Advanced Options' but click on ‘I have read the terms and conditions of the GPLv2' and then click ‘Install Now'.
- So, now you wait and click the ‘X'… CLOSE button.

And after waiting a few moments, you should see the ‘Your Install is Complete' with a ‘View Credentials' button. Click the button.

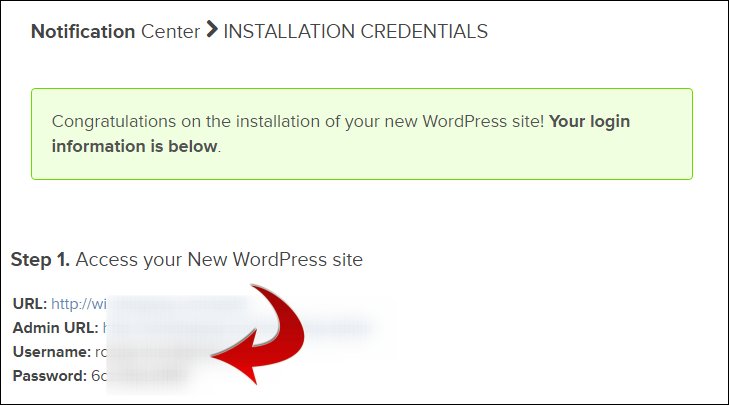
- The LAST page contains your login information.
If you click on the URL, you'll see something that looks like this…
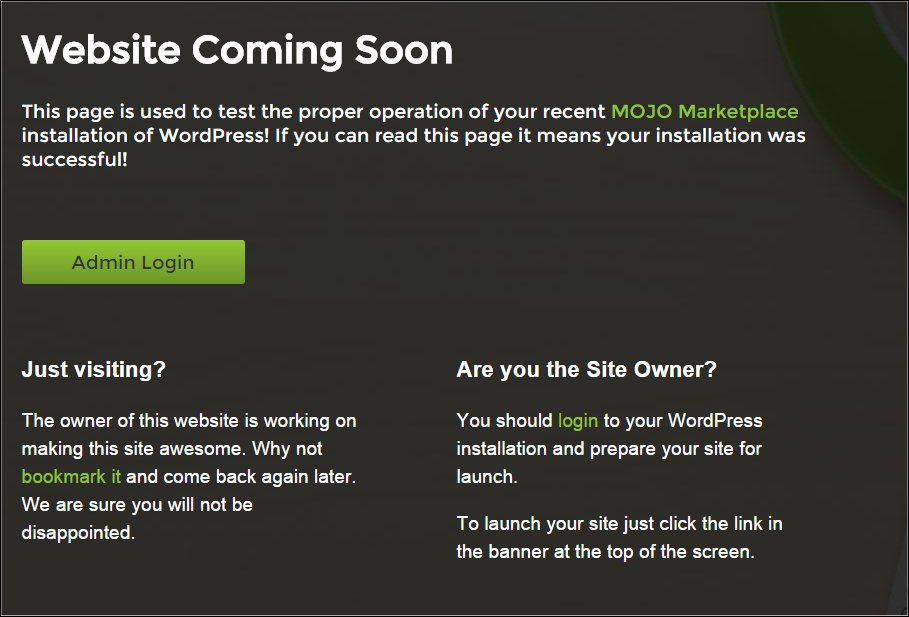
Click the Admin URL and login with your Username (your email address) and the Password assigned
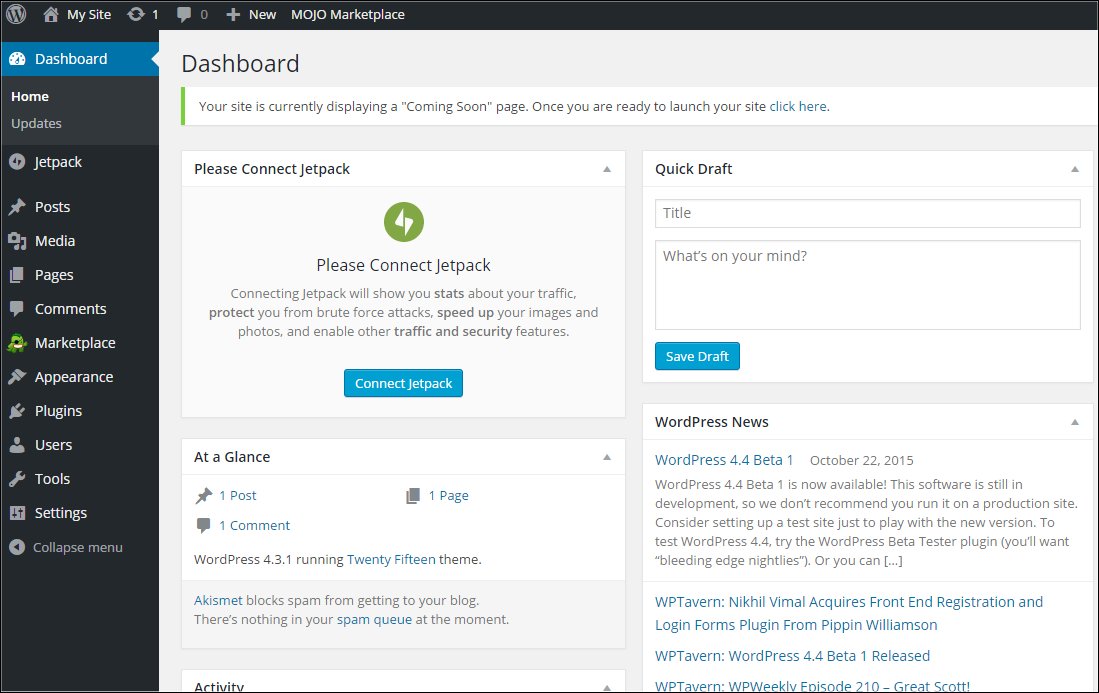
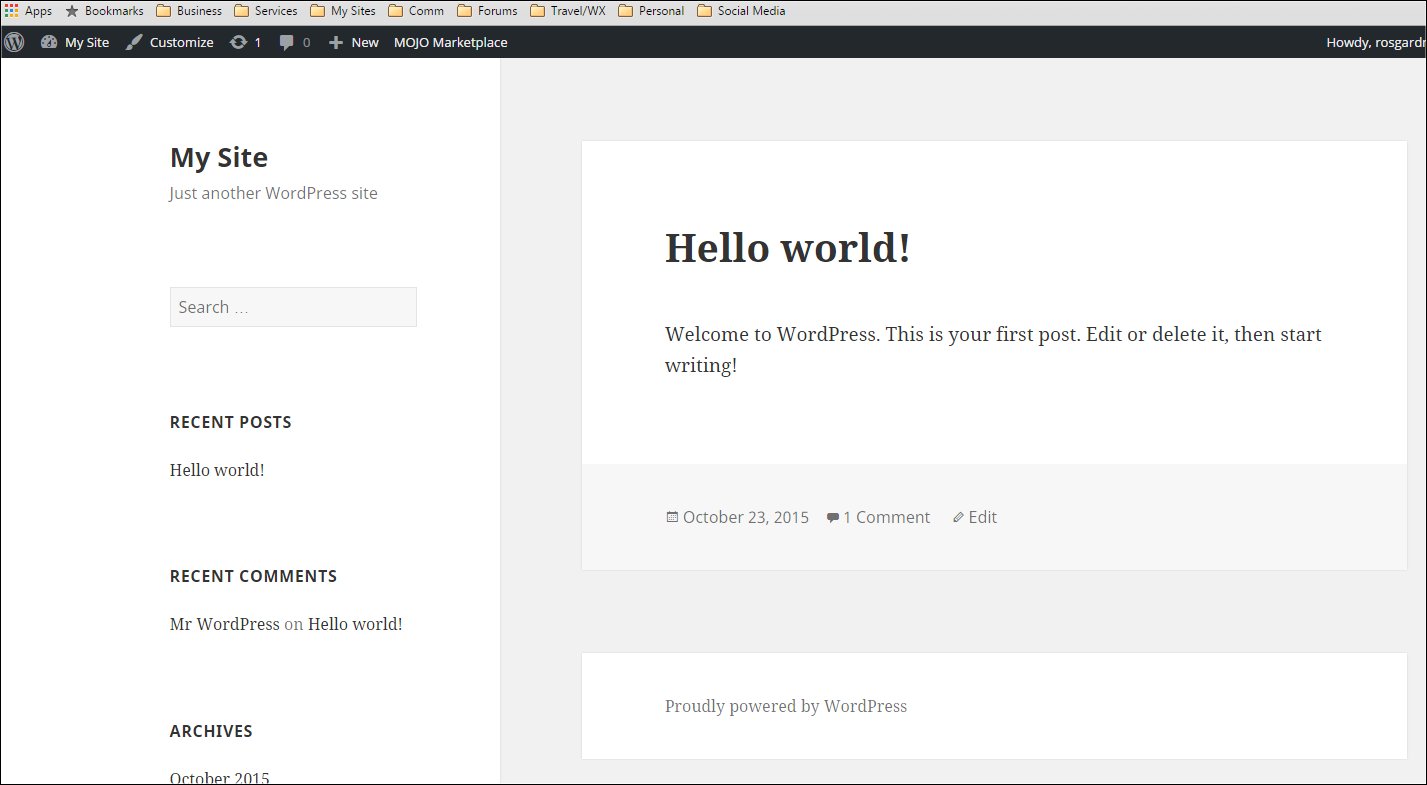
Don't worry about how your blog looks right now… we'll make it pretty really soon.
You NOW have a blog!!
Congratulations!
Did you find this post informative and useful? If so, please share it with others! If you have a comment, question or suggestion, please leave a comment below!
Cheers,

